Connect Kitchen Cabinets : Designed and Installed by Cabinet Connection of NC ... : The cabinet doors need to be out of the way for the squeeze clamps to grasp the cabinet face frames.
Connect Kitchen Cabinets : Designed and Installed by Cabinet Connection of NC ... : The cabinet doors need to be out of the way for the squeeze clamps to grasp the cabinet face frames.. It's common to install these in the top and bottom shelf. 5 double door cabinets and one single door. This style is our charleston line in saddle. Add a 2×2 board to the top of your cabinets with 2″ brad nails and a brad nailer. To begin kitchen island installation, first trace an outline of the cabinets on the floor.
Add 2×2 boards to top of cabinets and ceiling. I also recommend removing cabinet doors, especially wall cabinets, when you're trying to connect them. Hanging upper kitchen cabinets is the next step in this series. 5 double door cabinets and one single door. Connect the two cabinets by drilling four evenly spaced pilot holes in their adjoining wood face frames.
Visually connection the cabinetry through style and accent ... from i.pinimg.com Don't let the bit travel too far into the wall cavity, or the insulation may twist up like cotton candy on a stick and make it difficult to pull the bit back out. Once you have the style of your kitchen cabinets selected, keep these types of kitchen cabinet molding in mind before installation. Today, i want to chat specifically about how to outfit kitchen cabinets as a pantry. If you notice some unexpected gaps or feel like your cabinets are lacking design elements, you can always introduce molding to your kitchen after the installation without needing to alter the cabinets themselves. Anchor the island cabinets to the 2x2s with screws. If needed, place flooring blocks under the 2x2s. Hanging upper kitchen cabinets is the next step in this series. Get detailed instructions on installing wall cabinets in any room, here:
By roy berendsohn apr 6, 2012
If your wall bows out a lot, shim it before you hang the cabinet. There's a lot to ponder and consider, but when it comes to choosing the right kitchen cabinets and storage solutions for the heart of your home, cliqstudios makes the process easy. Once the cabinets are in position, level them up by using the adjustment on the kitchen unit feet. Surprisingly they weren't that heavy! Remove all cabinet doors, drawers and hardware before installing base cabinets in a kitchen. Drill a pair of 1⁄8 in (3.2 mm) holes from the cabinet's frame to the filler strip. When you buy kitchen cabinets online through our free online design service, you are covered by the cabinets.com designer reassurance program, which ensures the correct cabinets and moldings are ordered to successfully complete your kitchen project. This will prevent the cabinet backs from bowing when you drive in the screws. We held a scrap piece of 1/4″ plywood in front of the 2×2 to line it up correctly when we clamped the 2×2 down. Make sure you start with the upper cabinets, since they will be harder to install if the base cabinets are installed already. Charleston saddle kitchen cabinets — in greenville, south carolina. We are here to give you a step by step guide with all the tools you need, and the full process you need to follow to ensure your kitchen cabinets are installed properly. Add 2×2 boards to top of cabinets and ceiling.
Sheet flooring is more easily damaged, so lay it after the cabinets are in. Anchor the island cabinets to the 2x2s with screws. If your wall is bowed, glue shims over the stud lines where you'll secure the mounting screws. When you buy kitchen cabinets online through our free online design service, you are covered by the cabinets.com designer reassurance program, which ensures the correct cabinets and moldings are ordered to successfully complete your kitchen project. Doing so before can help prevent damaging the wall or the back of the cabinet.
Charleston Antique White Kitchen Cabinets - Traditional ... from st.hzcdn.com We are here to give you a step by step guide with all the tools you need, and the full process you need to follow to ensure your kitchen cabinets are installed properly. The length of trim screws i need to connect the cabinet front? Cabinet connect added 21 new photos to the album: Sheet flooring is more easily damaged, so lay it after the cabinets are in. Framed kitchen cabinets, what the size of screws i should use to hang them to stubs? The cabinet doors need to be out of the way for the squeeze clamps to grasp the cabinet face frames. 5 tips you can start using today and get more done. Get detailed instructions on installing wall cabinets in any room, here:
If needed, place flooring blocks under the 2x2s.
Elevate any living space with a stylish attitude. If your wall is bowed, glue shims over the stud lines where you'll secure the mounting screws. Protect it with thick mover's pads during installation. Cut out the need for corner cabinets by giving your kitchen an ingenious look. Drill a pair of 1⁄8 in (3.2 mm) holes from the cabinet's frame to the filler strip. Once the cabinets are in position, level them up by using the adjustment on the kitchen unit feet. Connect the two cabinets by drilling four evenly spaced pilot holes in their adjoining wood face frames. Framed kitchen cabinets, what the size of screws i should use to hang them to stubs? Make sure to attach them 1/4″ back from the front edge of the cabinet. What type of screws i should use to connect plywood boxes of cabinets on the back? Add 2×2 boards to top of cabinets and ceiling. It goes down a lot faster in an empty room, says tom silva. Frameless cabinets, as you may know or have guessed, lack a face frame on the front of the cabinets.
It's common to install these in the top and bottom shelf. Charleston saddle kitchen cabinets — in greenville, south carolina. This will prevent the cabinet backs from bowing when you drive in the screws. 3″ or 2 3/4″ ? Add a 2×2 board to the top of your cabinets with 2″ brad nails and a brad nailer.
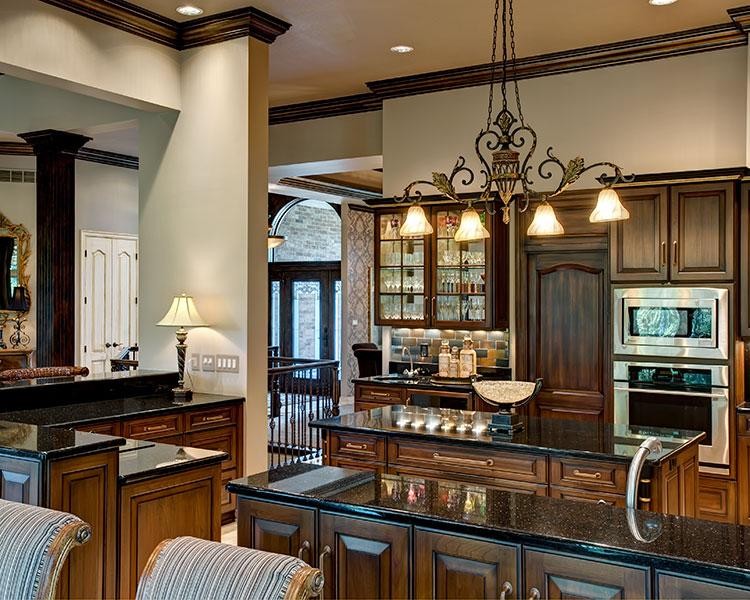
Design Connection Inc Kitchens | Kansas City Certified ... from st.hzcdn.com But the two deeper cabinets over the appliances definitely required an extra set of hands due to their size! We are here to give you a step by step guide with all the tools you need, and the full process you need to follow to ensure your kitchen cabinets are installed properly. Get detailed instructions on installing wall cabinets in any room, here: I'll mention up front that we are currently using 2 kitchen cabinets in addition to 2 kitchen drawers as our pantry. The length of trim screws i need to connect the cabinet front? Once you're ready to actually install your cabinets you need to know the proper way to do that as well as how to properly connect the kitchen cabinets. Wait to add drawers, doors and hardware until after the countertop is attached. Cabinet connect added 21 new photos to the album:
Filler strips are placed beside the leftmost or rightmost cabinets, between the wall and cabinet.
Fall in love with painted navy. Don't let the bit travel too far into the wall cavity, or the insulation may twist up like cotton candy on a stick and make it difficult to pull the bit back out. Filler strips are placed beside the leftmost or rightmost cabinets, between the wall and cabinet. Add 2×2 boards to top of cabinets and ceiling. If you notice some unexpected gaps or feel like your cabinets are lacking design elements, you can always introduce molding to your kitchen after the installation without needing to alter the cabinets themselves. Anchor the island cabinets to the 2x2s with screws. By roy berendsohn apr 6, 2012 3″ or 2 3/4″ ? Elevate any living space with a stylish attitude. I also recommend removing cabinet doors, especially wall cabinets, when you're trying to connect them. Today, i want to chat specifically about how to outfit kitchen cabinets as a pantry. If needed, place flooring blocks under the 2x2s. Protect it with thick mover's pads during installation.